{"version":"0.2.0","configurations":[{"type":"gdb","request":"attach","name":"Attach to QEMU",//替换为自己的可执行文件路径"executable":"${workspaceFolder}/prj2/main",//将端口替换为当前实验中qemu打开的端口,例如xv6习惯于使用26000"target":"localhost:1234","remote":true,"cwd":"${workspaceRoot}",//替换为相应的gdb可执行文件的地址"gdbpath":"/riscv64-linux/bin/riscv64-unknown-linux-gnu-gdb","autorun":[//添加其他需要的文件提供调试信息"add-symbol-file ${workspaceFolder}/prj2/bootblock",//在入口函数下断点"b _start"]},]}
3 愉快调试
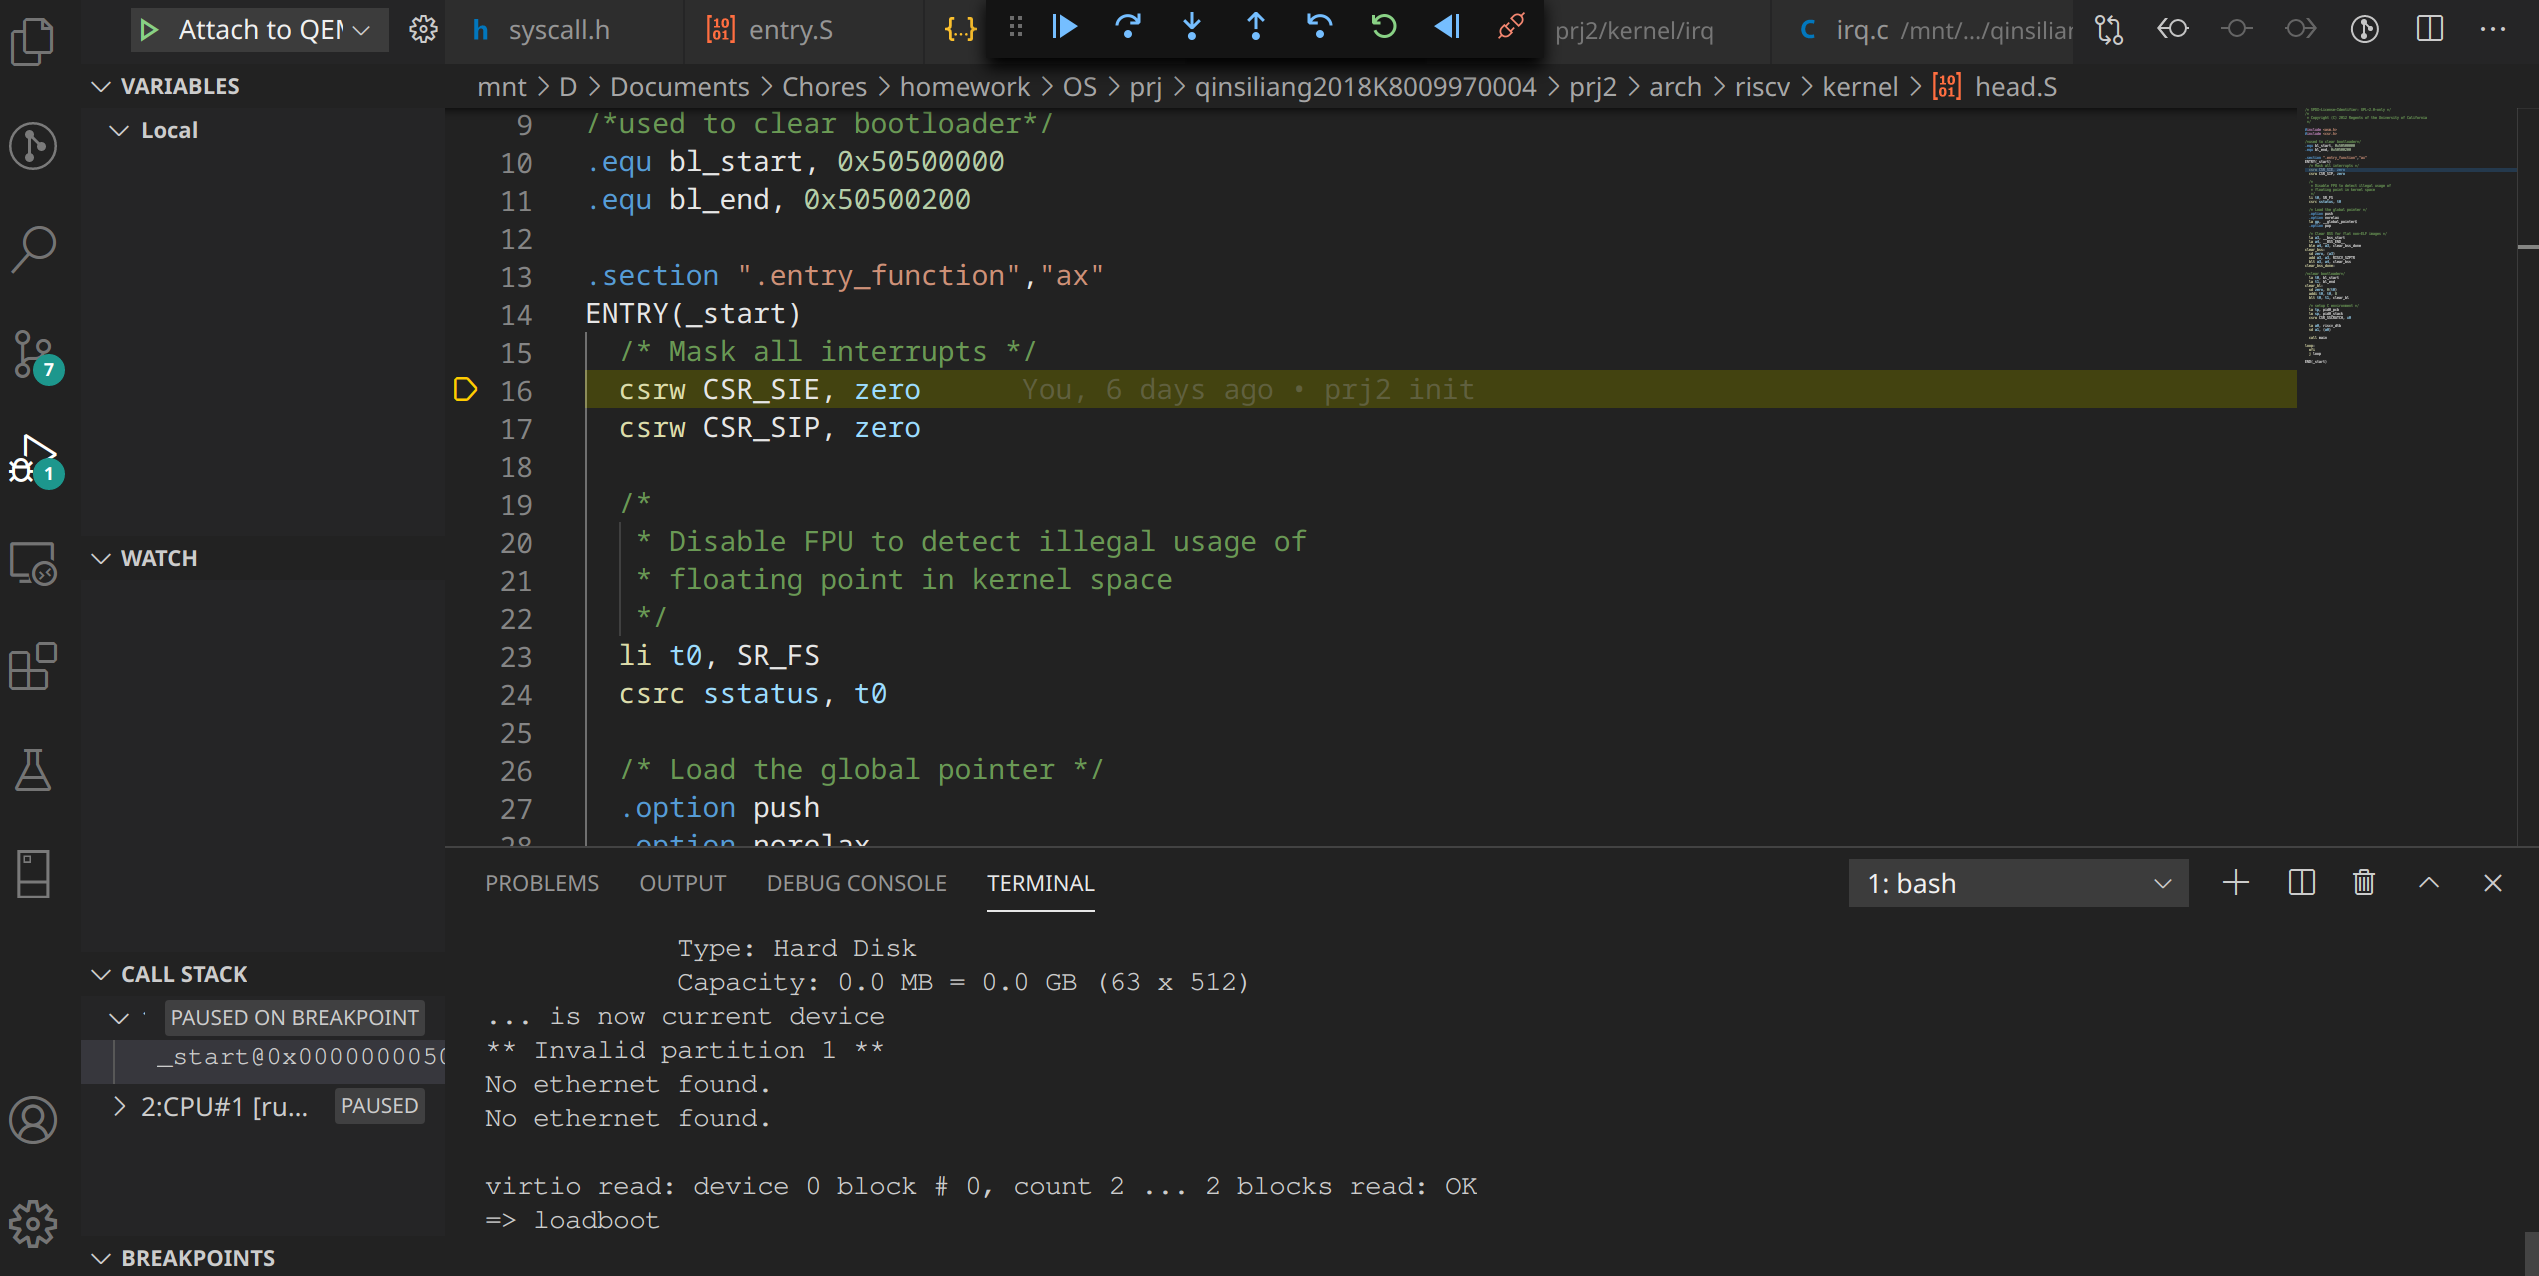
在终端中启动qemu后,F5打开调试器,程序将自动停止在设定的断点处。
debug
Tips:
使用侧边栏调试窗口中的Call Stack查看调用栈
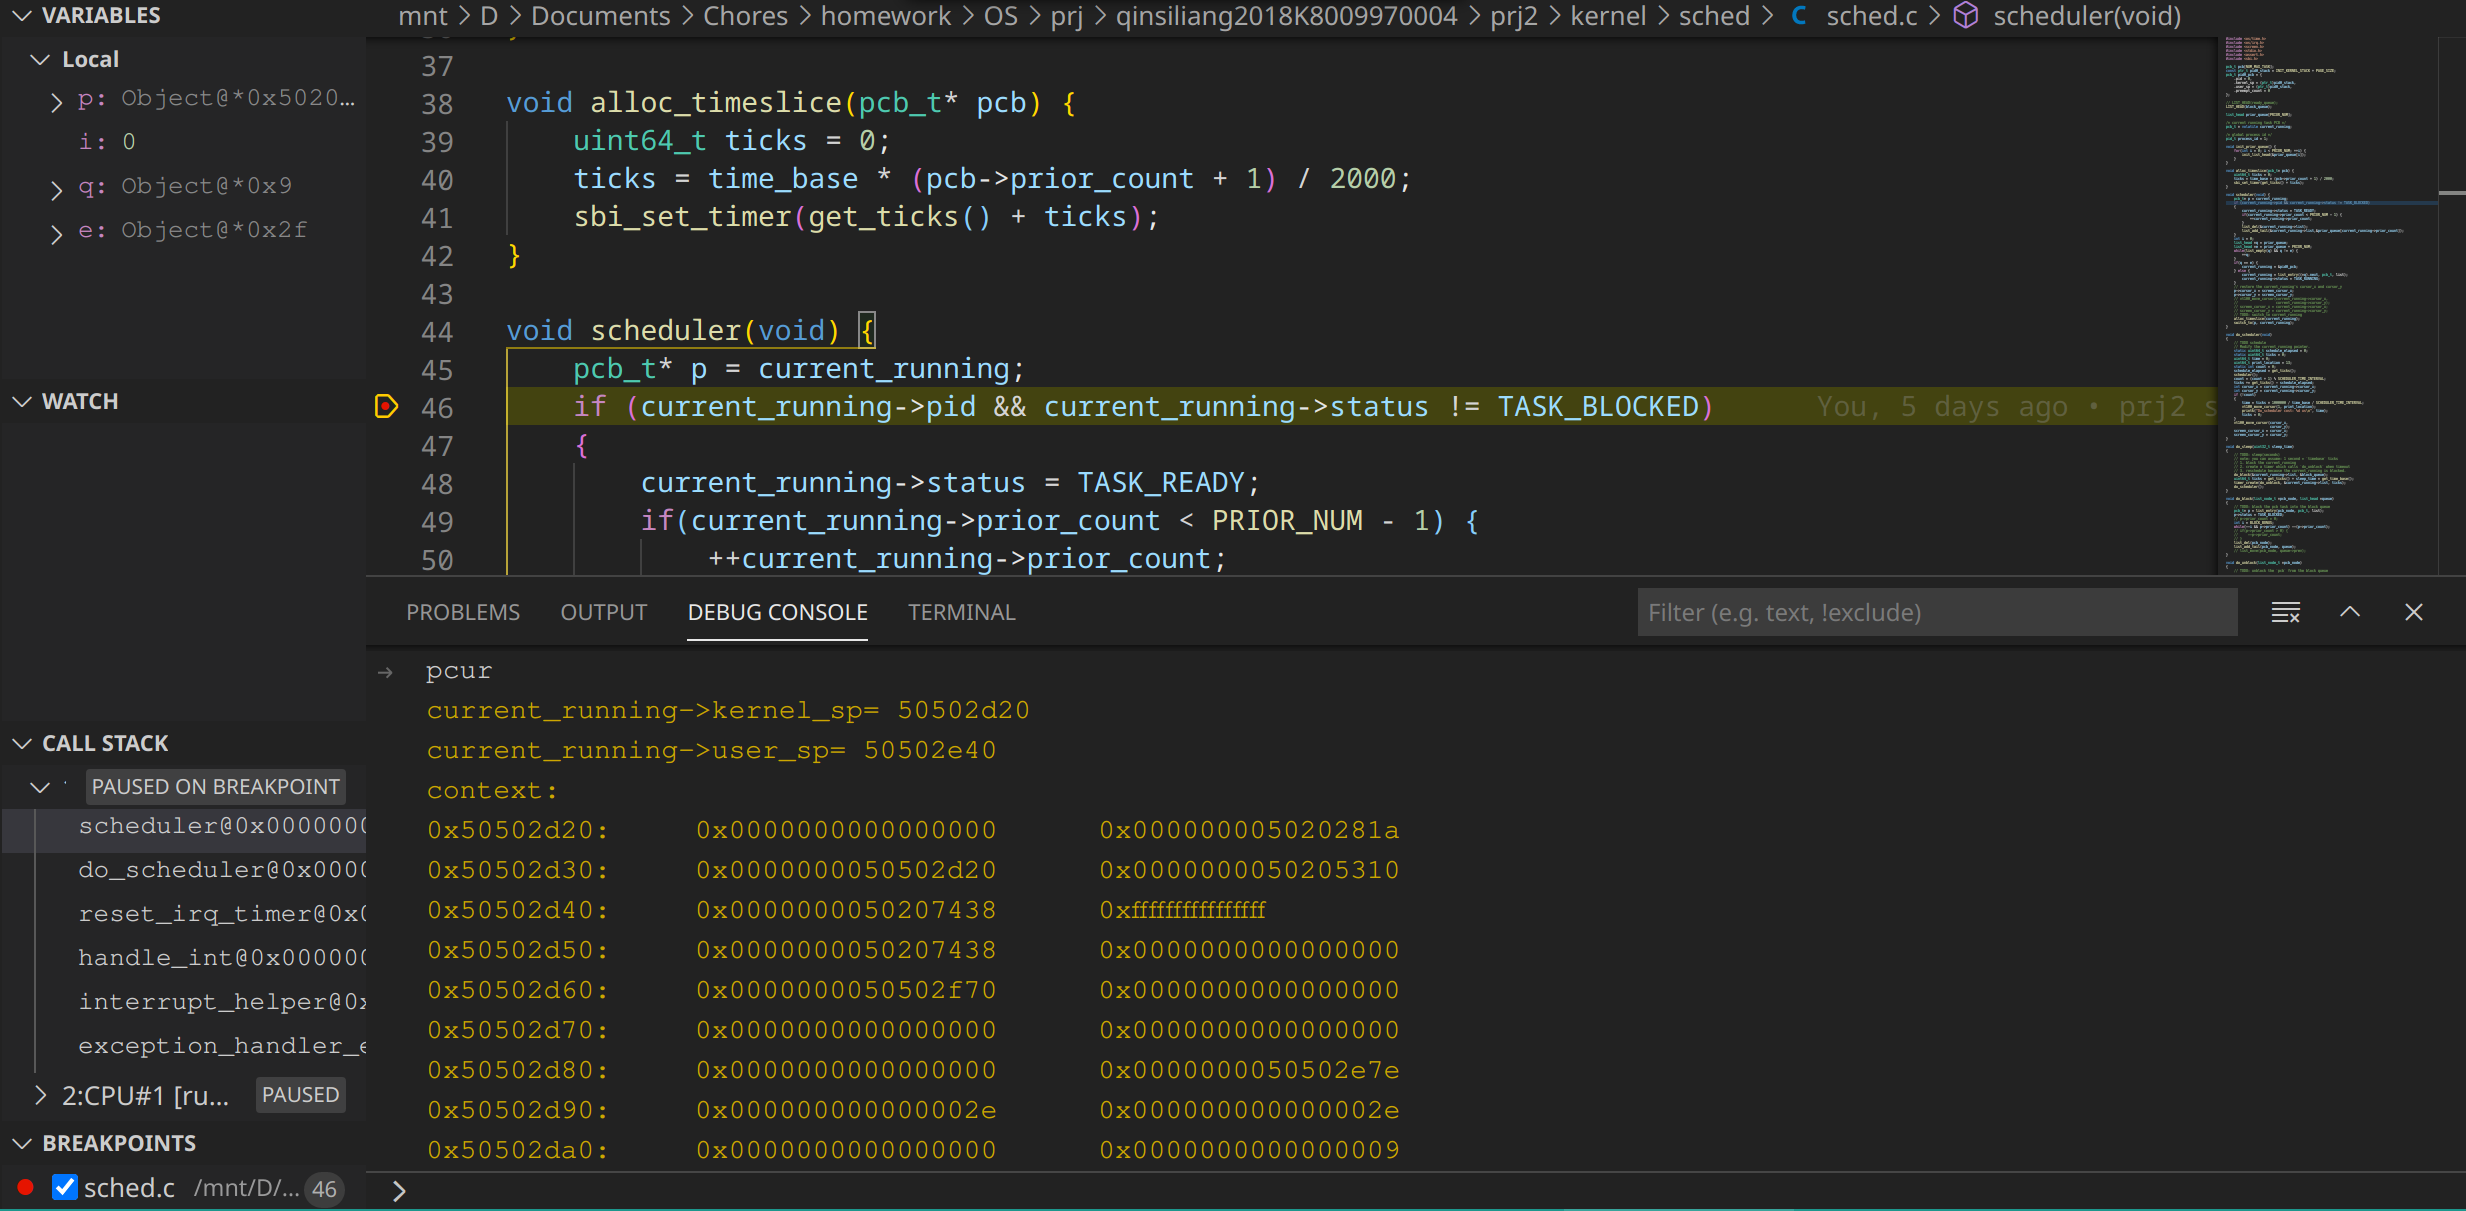
Debug Console中照常使用gdb打印信息
在.gdbinit中自定义宏,打印信息,例如:
 1
 2
 3
 4
 5
 6
 7
 8
 9
10
11
12
13
14
15
define plist
set$hd=(list_node_t*)&ready_queue
set$nd= ready_queue->next
while($nd !=$hd)
p/x $ndset$nd=((list_node_t*)$nd)->next
end
end
define pcur
printf"current_running->kernel_sp= %lx",current_running->kernel_sp
printf"current_running->user_sp= %lx",current_running->user_sp
printf"context:\n"
x/36gx current_running->kernel_sp
end